Greek Tyropita: Greek Cheesepies with Traditional Phyllo From Scratch
These Greek cheese pies are crisp, golden, and filled with a rich, creamy blend of cheeses, wrapped in thin homemade phyllo. This is not the bakery shortcut version. This is how cheese pies are made in Greek homes, where technique matters more than exact measurements and phyllo is treated with respect, not fear. And this is how we make it at our classes at CookinAthens. Homemade phyllo may sound intimidating, but it’s surprisingly forgiving, and once you try it, store-bought sheets will feel like a compromise you no longer want to make.
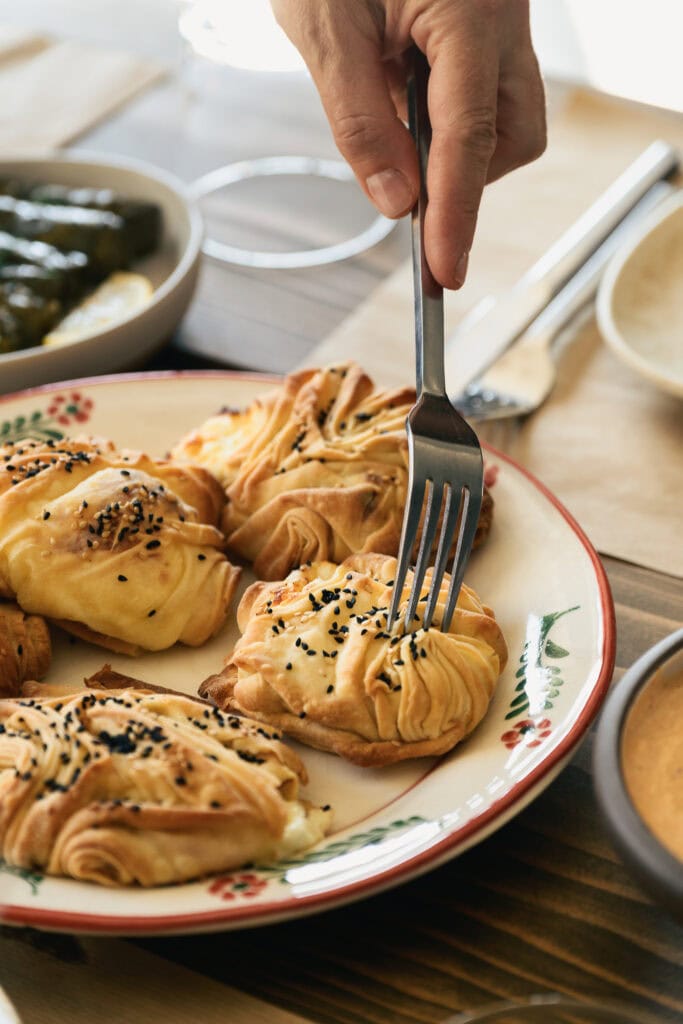
Cheese pies are one of the most fundamental elements of Greek home cooking. Long before packaged phyllo existed, dough was mixed by hand, rested, rolled thin, and filled with whatever cheese a household produced locally. Pies were originally the food of Greece’s poorest rural regions. With little more than flour, olive oil, and local cheese, families created filling meals that relied on technique rather than abundance.
Dough was stretched thin to feed many, and every ingredient was used with intention. What began as necessity slowly became tradition. In many regions of Greece, feta was not the default cheese. Graviera, kasseri, and soft fresh cheeses like manouri are preferred for their meltability and balance.
These individual pies were made for everyday meals, guests, travel food, and festive tables. Practical, nourishing, and endlessly adaptable. Homemade phyllo has always been a marker of skill. Thin, elastic, and lightly oiled, it bakes into crisp layers without dryness, something commercial phyllo struggles to achieve.
You can add finely chopped fresh dill or thyme to the filling for an herb-forward version. For more bite, increase the black pepper or add a pinch of chili flakes. For a sweet-savory twist, drizzle lightly with honey after baking. Sprinkle sesame or nigella seeds on top before baking for a bakery-style finish.
Q&A
Can I use store-bought phyllo? Yes, but homemade phyllo gives a softer, crispier result and absorbs olive oil better.
Why is vinegar used in the dough? It relaxes the gluten and keeps the phyllo crispy.
Can I change the cheeses? Yes, as long as you keep a balance of one melting cheese, one flavorful cheese, and one creamy cheese.
Can these be frozen? Yes. Freeze them unbaked and bake straight from frozen, adding 5–7 minutes.
How should leftovers be stored? In an airtight container in the fridge for up to three days. Reheat in the oven or air fryer.
How to Serve
Serve warm or at room temperature, on their own, with a simple salad, or as part of a meze spread. They’re perfect for casual meals, guests, or eating straight from the tray while standing in the kitchen, which is honestly the most Greek way to do it.
PrintGreek Tyropita: Greek Cheesepies with Traditional Phyllo From Scratch
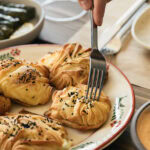
Traditional Greek cheese pies made with thin homemade phyllo and a rich three-cheese filling. Crisp, golden tyropitakia with authentic technique.
Ingredients
- 120 g all-purpose flour
- a pinch of salt
- 2 tbsp extra virgin olive oil
- 2 tsp white wine vinegar
- 5 tbsp water (approximately)
- 100 g graviera, grated
- 100 g kasseri, grated
- 100 g manouri, crumbled
- 2 tbsp Greek yogurt
- Freshly ground black pepper
- A splash of milk
- Olive oil, for brushing or spraying
Instructions
- Prepare the dough: In a mixing bowl, combine the flour and salt.
- Make a well in the center and add the olive oil and vinegar.
- Start mixing to combine. Begin adding the water gradually, starting with about 60 g (4 tablespoons), until the dough comes together.
- The dough should be soft, smooth, and elastic, similar to play-doh. If it feels crumbly, add water a few drops at a time. If it becomes sticky, add a little flour, about ½ teaspoon, and reassess.
- Knead the dough for about 5 minutes until smooth and pliable. Divide it into four equal balls, cover, and let rest for 30 minutes to relax the gluten.
- Preheat the oven to 200°C (390°F) and place a baking sheet inside to heat.
- In a bowl, mix all the filling ingredients until creamy but not runny.
- Place one dough ball on a well-floured surface, flatten it slightly, and roll it out into a very thin round sheet.
- The thinner the better; it should be almost translucent.
- Spray or brush the surface generously with olive oil.
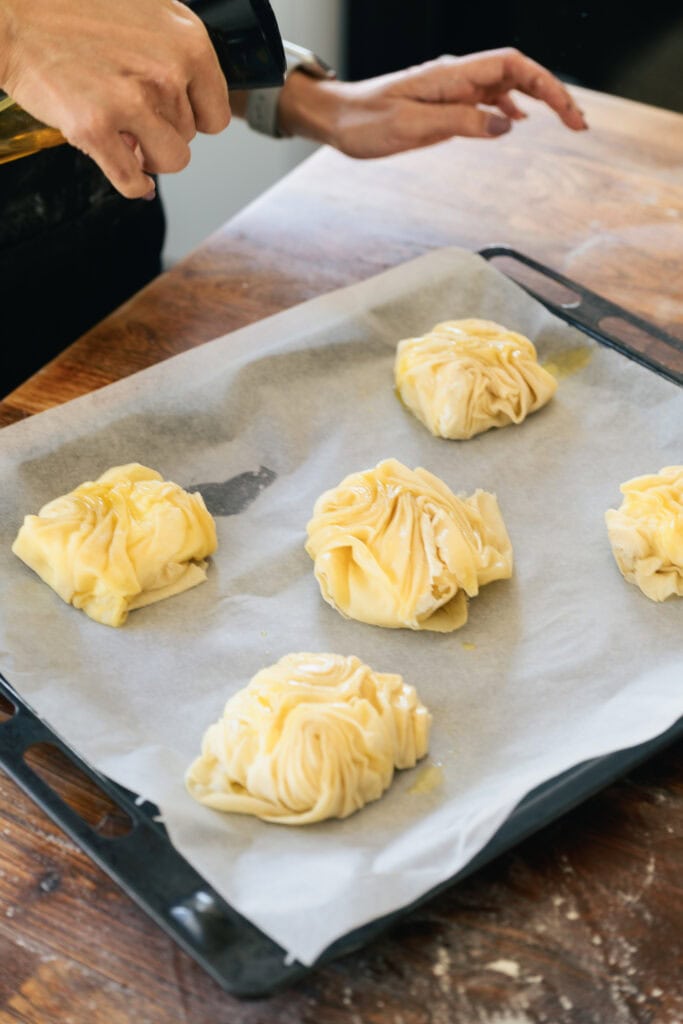
- Fold the top and bottom edges toward the center, then the left and right edges, creating a square shape with overlapping petals.
- Add one tablespoon of filling in the center and fold the petals over the filling one by one to seal. Turn the pie seam-side down, place it on the hot baking sheet, and lightly oil the top.
- Bake for about 20 minutes, until golden brown and crisp. Repeat with the remaining dough balls.